Have you ever been working quickly on a project when you encounter a broken screw or stripped screw head? Pick up a screw extractor, and you can resume your work where you left off without any difficulty.
Reverse threaded tapered drill bits are used in effective screw extractor designs. To back out the screw normally, you reverse the bit’s rotation. Because of the reverse threading, as it is being pulled out, it bites into the stripped fastener’s head. Choosing a trustworthy product to complete the task might be more important than knowing how to use a screw extractor.
This article will introduce how to use a screw extractor, let’s start!
Table of Contents
Why A Screw Extractor Is Needed?
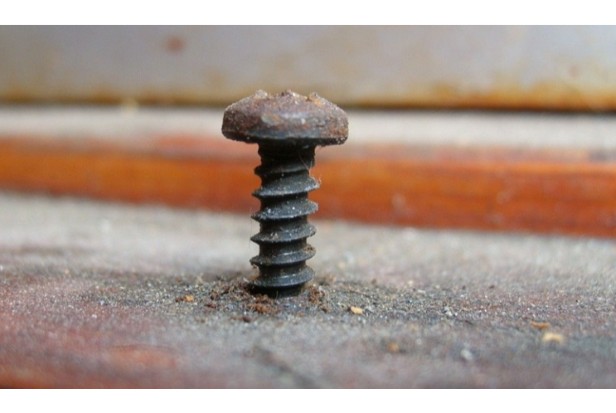
A fastener may occasionally be cut or bent off without causing damage. But other times, you just have to let it out. Although they can seriously hamper your productivity, stripped and round-out screws don’t necessarily have to put a stop to your work. Always have a cheap screw extractor on hand. With the least amount of frustration possible, you can quickly remove those annoying worn-out, and weathered fasteners.
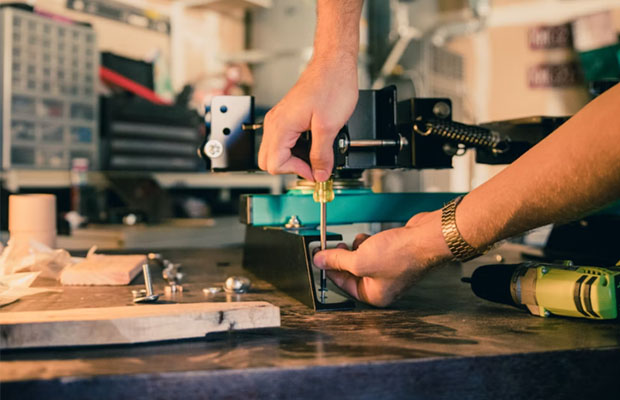
Any expert, whether they work in mechanics or woodworking, should always have a set of screw extractors on hand. We can teach you how to extract a screw as if you’ve been doing it for years, whether you’re a beginner or you’re learning from a professional.
Things Before You Begin
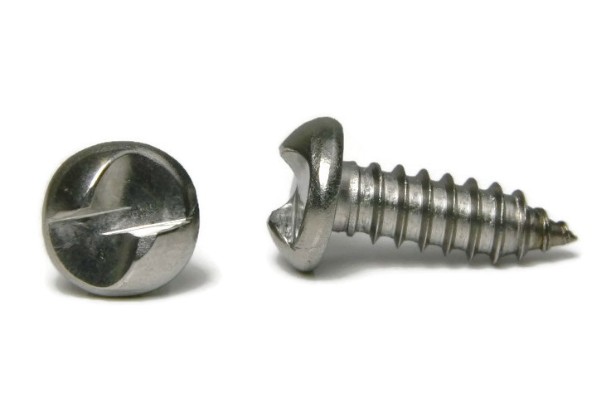
A high-strength steel shaft with a square head and reverse tapered cutting screw threads on one end is a screw extractor. The extractor is turned by inserting the square head into the T-handle. Locking pliers can be used to hold and rotate the tool’s head.
The tool’s business end has tapered threads. These are intended to be inserted into the head of the screw or bolt after a pilot hole has been drilled. The extractor’s end is sharply tapered so that as it is turned, it bites deeper and tighter into the damaged screw. As a result, as the extractor is turned counterclockwise, the damaged screw is backing out as it is being dug into more and more.
When employing a screw extractor, a T-handle is a helpful addition. The handle, which is named after its form, fits over the end of an extractor bit. T-handles come in a variety of sizes to fit extractors, and many varieties can also be used with taps to create holes for threading. If you don’t have a T-handle, locking pliers can be used to turn a screw extractor.
How To Use A Screw Extractor?
Step 1: Gather Some Needed Tools
Depending on the fastener’s type, size, and material from which you’re attempting to remove it, you’ll need a few tools:
- Screw extractor
- Hammer
- Center punch
- Drill (we do not recommend using an impact driver—too much torque and speed)
- Drill bits (not needed if your extractor has a boring end)
- Thread cutting oil and/or penetrating oil
- Wrench
- Safety glasses
Step 2: Safety First
Put on your safety glasses because your work could potentially send some metal shards flying. Protecting your eyes from debris is a constant concern. If you are concerned that metal shavings will cut you, you might also want a pair of gloves.
Step 3: Punch It Out
You might need to leave some room in the screw head for a basic screw extractor to function. To do that, drill or enlarge the existing screw hole.
To do this, place a punch in the screw’s center and lightly hammer it down. As a result, the center of the screw will be indented, which will serve as a drill bit guide.
You can drill out the screw head directly with some screw extractors that have a burnishing end. If that is the set you have, do not drill and punch holes.
Pro Tip: Avoid having metal fragments fall into the engine block when removing a bolt or plug from an engine.
Step 4: Drilling A Guide Hole
Next, locate a drill bit with a smaller diameter than the screw you need to remove. Put a tiny bit of thread-cutting oil on the screw head to make your life easier. This goes a long way.
Drill into the screw slowly while maintaining a straight drill bit. Only about 1/8″ to 1/4″ of drilling will likely be required, depending on the size of the screw extractor you intend to use.
Pro Tip: Take your time; there is some benefit to safeguarding your workpiece if you need to stop to remove a screw. Don’t rush the procedure because doing so will ruin the entire thing. Additionally, you should use a drill for this process because an impact driver’s mechanism doesn’t produce a smooth action.
Turning your drill into reverse is necessary if you’re using a burnishing/extractor double-ended bit in order to use it properly. The good thing is that there is no guesswork because the double-ended bit already corresponds to the correct extractor size. To determine the best size, simply compare each bit to the screw.
As you can probably tell, we prefer using double-ended screw extractor sets.
Step 5: Screw It
It seems like we took a while to actually extract a screw in this tutorial on using a screw extractor, doesn’t it? Now that we have arrived, you can use the screw extractor.
When using a drill in reverse, insert the screw extractor into the drill-holed guide hole. As it descends, the screw extractor will twist until it catches the screw. As soon as that occurs, simply keep turning until your screw is securely removed. Go very slow.
Pro Tip 1: If the screw extractor doesn’t grab the screw, drill or bore out a little more of the head. For most screws, 1/16″ or less will be sufficient, but you might need to go a little bit further on some. Try the size up if it doesn’t work after that.
Pro Tip 2: Consider manually running the extractor out. Drilling at a slow speed will work, but we’ve broken bits by running them into genuinely stuck fasteners too quickly more than once. The likelihood that a manual method will be more effective than using your drill increases with how big and “stucker” the fastener is.
Hope this article is useful for you! Please feel free to add any additional advice you may have about using a screw extractor in the comments section below.