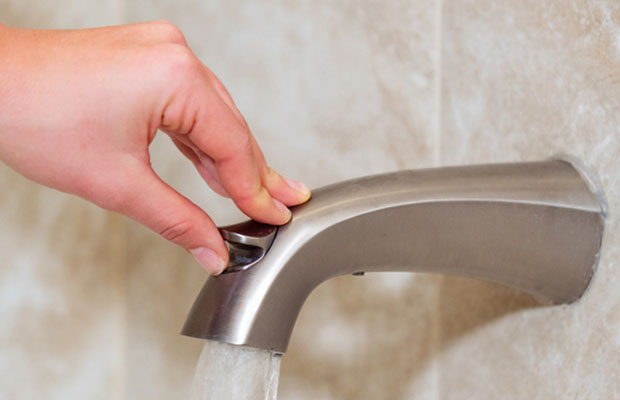
Is the pressure in the shower low? When you take a shower, does the faucet leak? If so, you might need to fix a diverter that is clogged or damaged.
If you have a home warranty and you believe that your shower diverter valve has failed, be sure to call your home warranty company so that a plumber can diagnose the issue for you for just a small service call fee.
Read on to find out how to make shower diverter valve replacement by yourself if your home warranty isn’t in place.
Table of Contents
Type of Shower Diverter
There are three main variations of the shower diverter valve:
- Three-valve diverter – for showers with two-tap faucets.
- Two-valve diverter – for showers with a single-dial temperature adjuster.
- Single valve or Tee-diverter – pull up to send water from the faucet to the showerhead.
The most typical style of the shower diverter valve is a tee diverter. We’ll talk about fixing these first.
How To Replace Shower Diverter Valve?
- 1. Use a blunt knife or ruler to pop off the plastic button on the handle.
- 2. Loosen the screw on the handle
- 3. Unscrew and remove the handle
- 4. Remove the sleeve over the diverter
- 5. Use a socket wrench to take out the diverter. Ensure that the nylon washer is removed along with the diverter. The seat of the diverter stem might also need to be replaced. Call a plumber if this is the situation.
- 6. Replace the diverter with the new diverter (same make and model as the old diverter, if you can)
- 7. Replace the handle
How To Repair Your Tee Valve Shower Diverter?
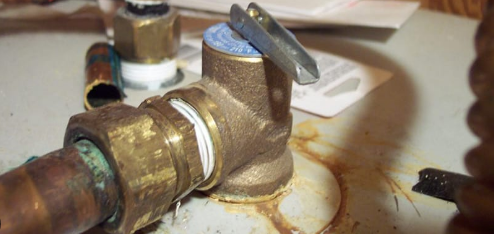
- Turn off the water. When you aren’t concerned about seeping water, repairs are much simpler. On the wall behind your shower, there should be an access panel.
- Seal off the drain. Use something like duct tape to catch any tiny screws that might fall down the drain.
- Loosen the waterspout’s set screw. The spouts don’t all have one. This is a tiny screw that is typically located near the base on the underside of the spout.
- Remove waterspout. Your bathtub’s faucet will either slide off or unscrew depending on the model.
- Remove diverter. When you pull the diverter knob, a tiny plastic piece like this slides up and down. Use a diverter replacement kit from your neighborhood hardware store to swap out the diverter in case it needs a new washer or is malfunctioning.
- Change the waterspout, then test. You should only use water that is directed at your shower head. If not, the spout may have become clogged with minerals.
- Replace the waterspout. Replace your old, corroded spout with a new one from your local hardware store.
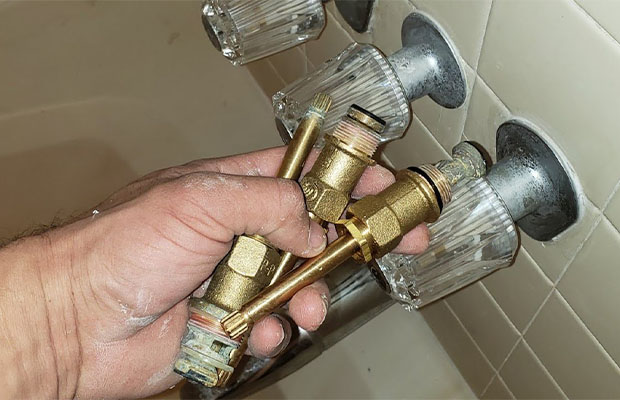
How To Repair Two Or Three-Valve Shower Diverter?
You must identify the type of diverter you have in order to fix a two- or three-valve diverter. Most likely, a face plate conceals your valve. Turn off your water, cover your drain and follow the steps below:
- Unscrew handle and faceplate (frequently round, metal) in your tub and take it off to look.
- Remove your old shower diverter. If it has a rotating valve, turn the nut at the stem until it comes out completely. A socket or shower faucet wrench will be necessary to cover the nut and loosen it if your diverter is concealed behind the wall.
- Replace your diverter valve. Take the diverter you just removed to the store to make sure you get the right replacement. It won’t cost much, and it’s simpler and more efficient to replace the entire device than just a few individual components.
- Install your replacement. The process of putting the screw back in place should only take a few minutes. Avoid overtightening anything at all costs.
- Test your new valve. Turn on your water and turn the diverter. The showerhead should receive the water that is coming from the spout directly. Water should only flow out of either the faucet or the shower heat, never both.
As soon as you notice issues with your diverter, get it fixed right away. A broken shower diverter leads to a subpar shower, and it wastes water. As a result, your water bills will go up and you risk having water damage inside your walls.